A cute way to recycle shopping bags...
Monday, September 26, 2011
Friday, September 23, 2011
Wednesday, June 2, 2010
Tea Time


I designed this mini 'box' while trying to figure out how to make a gift of some tea for my friend, Rebecca.
Using a 12x12" piece of card stock, cut away 4 1/2" squares from the corners. Score edges of remaining center 3" square, so you now have four side flaps. Two opposite facing flaps need to be scored from outside corners to meet at center of top, forming a triangle. Punch holes & set eyelets (if desired to make tie stronger) at top corners of scored side flaps. Run ribbon through holes on each side & pull closed with front & back flaps tucked inside.
For this one, I punched a 2 1/2" circle out of the back flap to make a window. If you like the window but want to fill with something loose, adhere a piece of clear plastic like a transparency sheet to inside of flap. You can do this for front & back sides. I used a 'Mega' 3D-Dot by EK Success (1/2" thick) to attach the monogram so I could stick the mini heart pins into the foam behind the scalloped circle. These make CUTE party favors, invitations, or just a little 'thinking of you' gift. Enjoy! -Shannon
Wednesday, May 19, 2010
more test-day treats

Hannah's class had standardized testing one day last week & two this week & of course after I did the first water bottle, she had to have them this week too! She likes it when I personalize things for her & it makes her feel special. I tried to do them all different, including the way I tagged her water, especially with the ribbon. The first day I tied the tag around the neck of the bottle & today & yesterday I tried to be a little more user-friendly. As you can see, these two tags just lift off the bottle. For the red one, I used the same paper as the tag, from the Grade School Stack by Die Cuts with a View. The purple & yellow is from the Glitter Stack by the same company. For the gum 'wrappers', just cut a piece of paper to same width as the pack & score to be able to wrap the paper. I used only a bit of adhesive on the paper so the gum can slip out easily. Enjoy! -Shannon
Tuesday, May 18, 2010
Cute Cousins


I took some really cute pics of my daughter & niece last summer & made this 'frame' for my SIL's desk at work. The paper line is We R Memory Keepers & as always the ribbons are from an unnecessarily large stash. I love American Crafts {everything!} ribbons....great colors, designs, & usually double-sided. The base of the frame was made from chipboard sheets as were the photo mounts.
Please feel free to post comments and/or questions about any design. I look forward to feedback! Enjoy:) -Shannon
Monday, May 17, 2010
Token of my affection


This cute little set of 'thank you' cards happened when I found the tickets.....Sending them off to a friend who is very far away but always in my heart.
You can easily scraplift these , even if you don't have the tickets....just use a hole punch, circle punch, or a corner chomper to cut away the corners. My shamrock is a Sizzix die & the little heart & mini shamrock are EK punches. Enjoy! -Shannon
Friday, May 14, 2010
Wash Day


My friend Rebecca mentioned she wanted to make something cute for her laundromat quarters.....but she works a lot, so I took the liberty of making this for her. The quarter container was a package of Bazzill blossoms in a previous life & the dryer sheet box originally held tealight candles. Recycling at its cutest! The best part is, she uses them all the time. Enjoy! -Shannon
Thursday, May 13, 2010
Sexy Cupcakes

These are custom cupcake boxes for a 'Sex and the City' party.They are monogrammed to match the girls with their respective characters in the show. I used Basic Grey chipboard letters & when I couldn't find my 'j' I cut the arms off of an 'f' & turned it upside down! Voila, a 'j'! I covered them with Brilliance pearlescent coral ink & edged them with black ink. To get ink into the tricky little corners, use a Q-tip. ;)
The martini glasses were cut with a Pazzle machine & the names were done with a QuicKutz alphabet (Broadway).
Remember, I can make just about anything you can think of! This design was created after a brief phone call with a new customer.
-Shannon
'H' is for Hannah

Hannah's request that I 'do something' to her water bottle & pack of gum for today's testing was a hit!
She loves it when I make tags, bookmarks, etc. for her & of course shows them off to her friends (she's a sweetheart!).
The only part you can't see here is the green rhinestone flower on the cap.... The messy, messy desk is another story.
Enjoy!
-Shannon
Wednesday, May 12, 2010
Jacob's 8th

Just handed over these custom invitations and Ally was delighted, as usual. :)
She had asked me to 'dress up' some tickets for a movie night birthday party for her son's 8th. The only other request was the color scheme.
The 'tickets' are all hand-made out of chipboard & cardstock and measure 5" X 8". I made them by using a circle punch to cut away the corners. A Crop-o-Dile Corner Chomper would be ideal for this to save your punch & your hand!
The popcorn & bucket are a Sizzix die. The #8 on the kernel is an American Crafts rub-on. The 'you're invited' epoxy stickers were found a while back in Target....I have a tendency to hoard invitation items like these for future use, especially if they're on sale!
I can make a themed, custom set of invitations for just about anything you can think of. So, if you're looking for something no one else will have, I'm your design girl! Enjoy!
-Shannon
Thanks, Mrs. M!
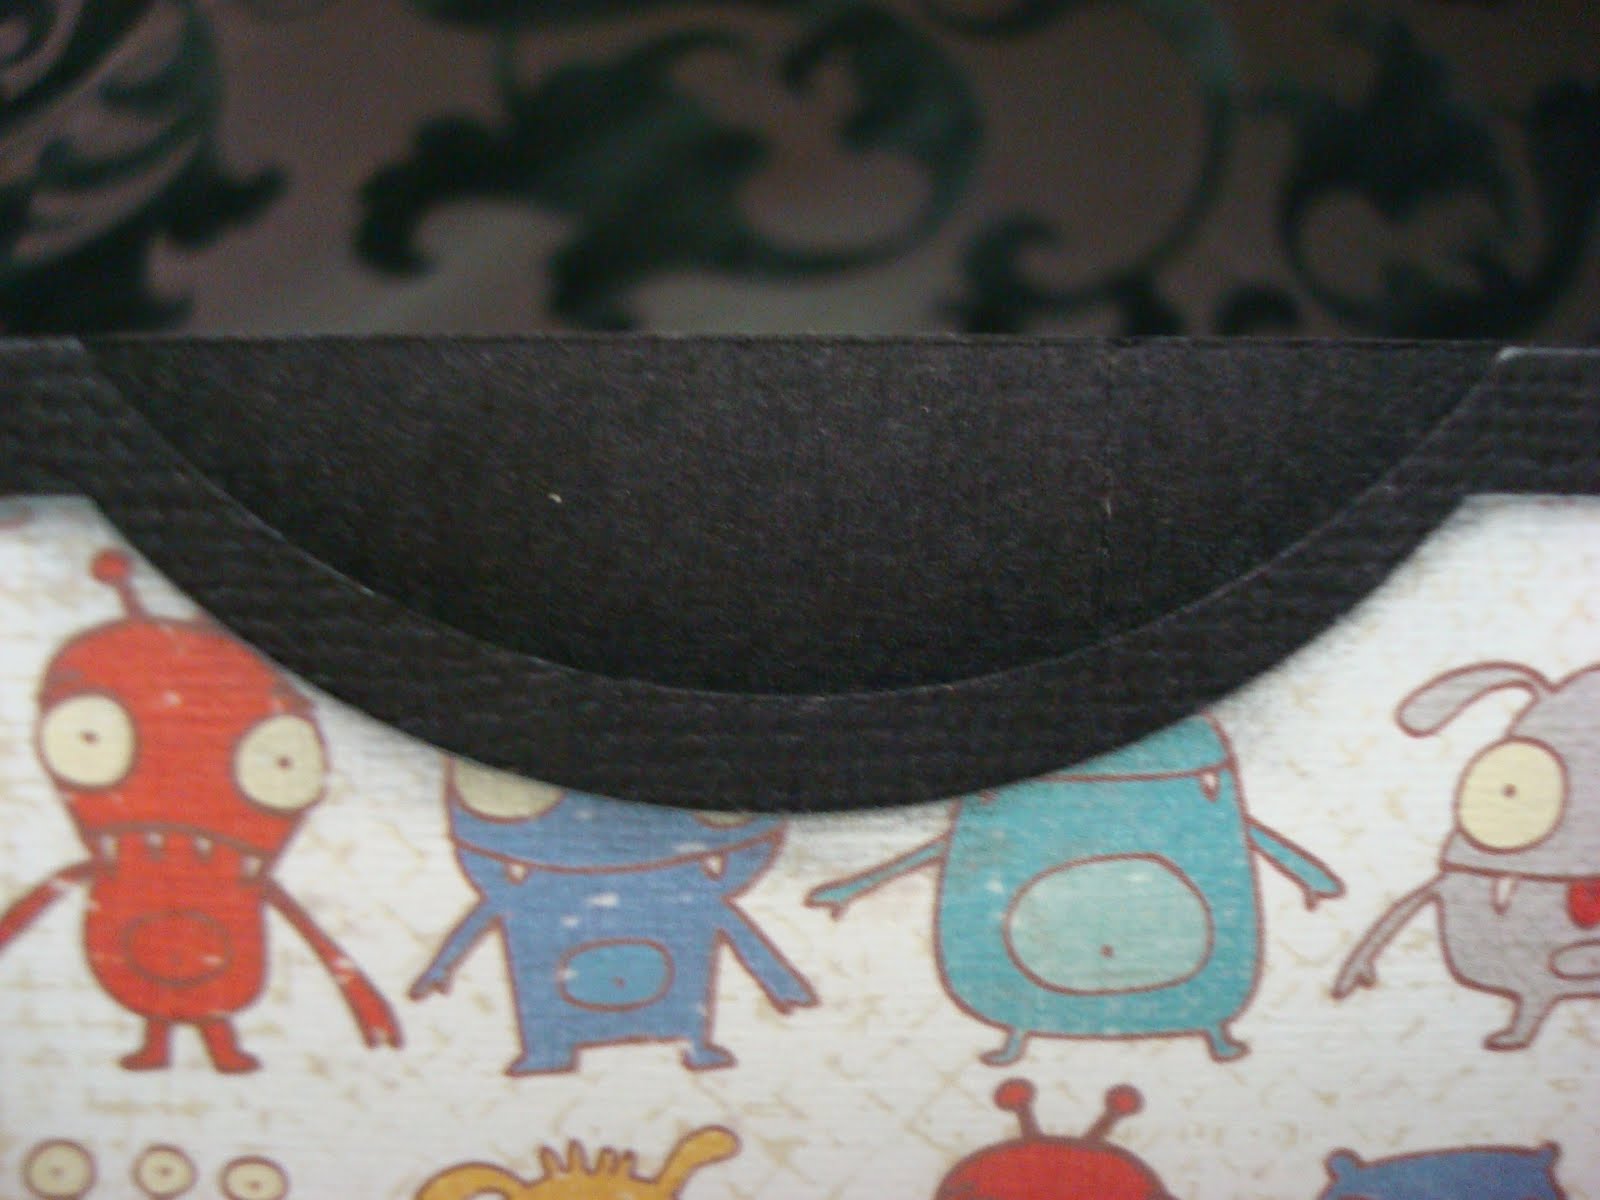
Well, Hannah's teacher is a sweetheart and let me borrow a tool to finish a project......so I thought it would be nice to send a thank-you treat. This truly took maybe 10 minutes to make.The paper base is 4 1/4" wide X 5", scored at 2 1/2" & folded in half. I used a 2 1/2" scalloped circle punch & cut away approximately 1/3 of the shape. The chipboard 'm' is by Heidi Swapp & I used a sanding block (from the paint section in your local hardware store) to distress it.
I scored big time finding this ribbon (so dang cute!) & had just enough left for this little treat. I tied the ribbon through only the front side of the paper, but have also made these with the ribbon tied through both sides of the paper, & if your bags aren't too heavy, you can skip the staples and use the ribbon to hold the bag inside the topper.
I inked the paper edges with charcoal, but a brown would work too. The cellophane bag is about 4" wide & pleated on the sides, so I cut my paper to 4 1/4" wide to compensate for the bag being full. I filled it with Natural Fruit Jellies from Trader Joe's, folded the top down, & covered it with the paper topper.
Truly, the most challenging part about making this was lining up the bag of candy with the topper to be able to staple it closed. The perfectionist in me is horrified that you can see the staples, but it really isn't that noticeable, right?! Right.
These are ideal for goodie bags at birthday parties, favors at showers & receptions, you name it! Cute & easy. Enjoy!
-Shannon
Tuesday, May 4, 2010
'Orbit' Collection by: Crate Paper


The party favor milk carton is by EK Success and comes in a 2-pack with plastic 'bubbles' for the round cutouts. I replaced the window bubbles that are included with a piece of transparency & adhered on the inside of the carton with tacky tape.
The attached tag was made with a 1 1/2" circle punch, cardstock and chipboard (cardboard). 'Happy Birthday' on tag and cards is a rub-on by Pebbles (replace with 'you're invited', 'thank you' as needed). The tiny spaceship, rocket, alien & star are all QuicKutz dies. I made the card with the black base a 5x7" pocket to hold an invitation insert. Dimensions for 5x7" pocket: 7x11" piece of cardstock, score on inside at 2" lengthwise & at 3" on each end, cut away lower left & right corners.
I made the door hanger for fun and Hannah immediately claimed it and has since requested a matching tissue box. These designs were initially intended as a boy's theme, but it turns out girls dig it too. :) Enjoy! -Shannon
Monday, May 3, 2010
Thursday, January 28, 2010
Vintage Valentines
Valentine's Day is just around the corner and I have a few cards to show off!These are fairly basic, standard size (4 1/4"x5 1/2") and super easy to 'scraplift'. I used only one sheet of 12x12 patterned paper by Rusty Pickle for all 4 cards, and another bitty scrap of Rusty Pickle paper for the 2 scalloped tags. My card bases are a little different than typical Valentine's colors to coordinate with the vintage feel of my pattern choice.
I used a few favorite punches on these cards & this time also punched the tags, circles, & hearts out of a lightweight cardboard to back the paper punches and give them a little more depth & durability. The pieces for the face have been cut 1/4" smaller than the card base (4"x5 1/4"), the corners rounded, & then inked with a charcoal Cateye inkpad. I chose a couple of cute scenes from the paper to punch out with a 2 1/2" circle punch which have also been inked. They all have American Crafts rub-ons from their miniMARKS line, which go on very easy, some of my favorites!
Enjoy these cards and keep your eyes open for more! :)
Wednesday, January 13, 2010
Happy Birthday, Christy!

Happy Birthday, Christy!
5x7 birthday card using pink Bazzill Bling, Kaleidoscope 'Love' Diagonal Stripe, green Bling scalloped with an EK corner rounder, Kaiser Craft rhinestones & flowers, Pebbles Inc. birthday rub-ons, Sizzix flourish die cut, & chipboard 'C' inked with Brilliance Pearlescent Coral and sanded when dry.
Love, Shannon
Friday, January 8, 2010
Martini Box


Cocktails, anyone? I found this kraft box at Michael's and it sat on my
I inked all edges of the box with a Charcoal cateye to coordinate better with my paper choices and removed the handle that was originally attached to the box. The pink ribbon around the lower half is a vintage Decorette brand by 3M that I acquired through a good friends' Grandma (Thank you, Meadow & Millie!).
I attached the martini gift tag to the lid by setting an eyelet through the black ribbon band with my Crop-o-Dile. The back of the tag is blank to allow for personalization. The tag is just 2 pieces of Black Bling paper backed onto each other with the corners rounded.
As always, when I cover a 'blank', I cut my paper just slightly smaller (typically 1/8") than the surface I am covering. Another technique you can try is to cut your paper the same size as the surface, adhere, and then sand the paper down to give your item a distressed look.
This box is meant for wine, but I love this martini paper by Creative Imaginations. The pink paper is an older Heidi Grace design (one of my favorites!) & I think it adds the right amount of 'girly' & goes great with my vintage ribbon.
Don't be afraid to try this with your paper choices and get carried away creating!
-Shannon
Tuesday, January 5, 2010
Disney Mini Box


I was so pleased with how cute this little box turned out! A friend passed on an empty note card box from 7Gypsies.....and this is the result. I took advantage of the black polka-dots working with a Disney theme and just covered the labels. The box was fairly shallow, but I thought it would be a cute desk item and/or a place to store a favorite pic from Disneyland or even tickets from the trip. Mickey's pic on the cover came from a piece of patterned paper that was basically a mosaic of main Disney characters. I love to 'recycle' in my paper-crafting and cover items to turn them into gifts. Enjoy!
-Shannon
Monday, December 7, 2009
Candy Box I
Here is another treat box for the holidays. This one is approximately 3x4x7". I found these in the gift wrap section at Michael's for about $1.29. They also start out collapsed, which again, makes them easy to cover. The hardest part really is the circular window, but you can cover that also....My paper choice is Making Memories, but it's an older line, from 2007 I believe. Remember: you can always copy the basic idea and just swap out different paper!
I am fortunate enough to have the perfect size circle punch on hand for the window, but you can free-style the cut if you're brave and have steady hands (unlike me!).....
The cute little sign on the front is Karen Foster and the mint 'tag' is Around the Block. The chained tag is an ideal way to weigh down the tabs on the handle and you can also attach a gift tag to it.
Happy Holidays and enjoy!!
Shannon

Subscribe to:
Posts (Atom)